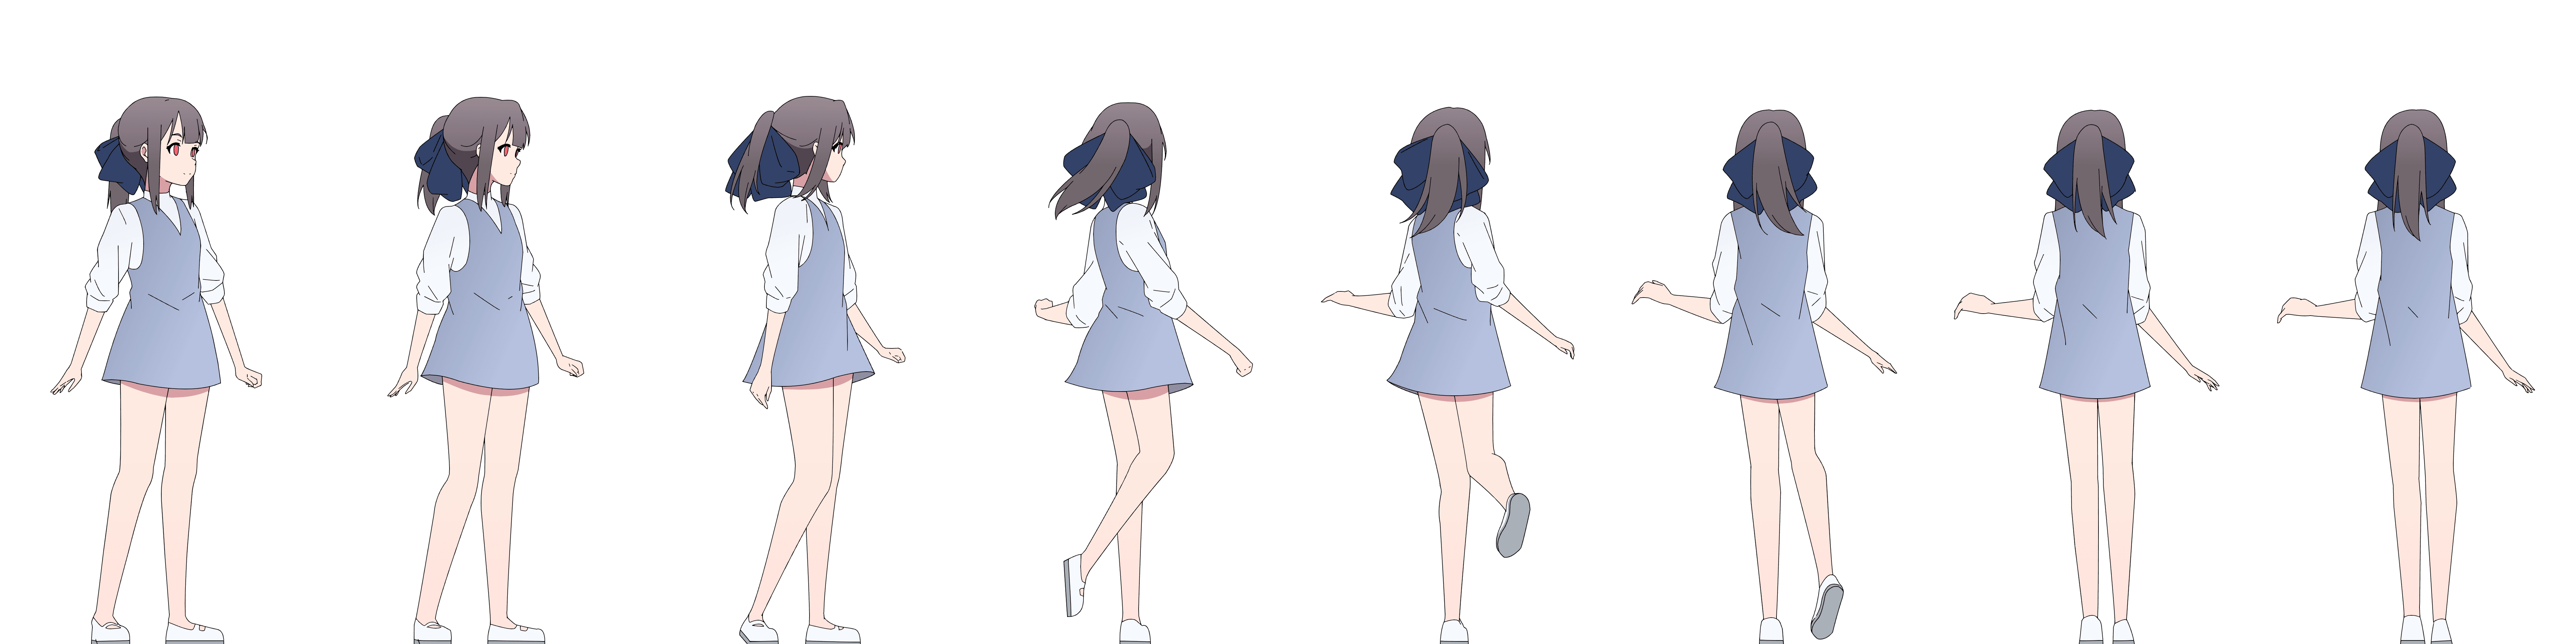
1. Initial Sketching
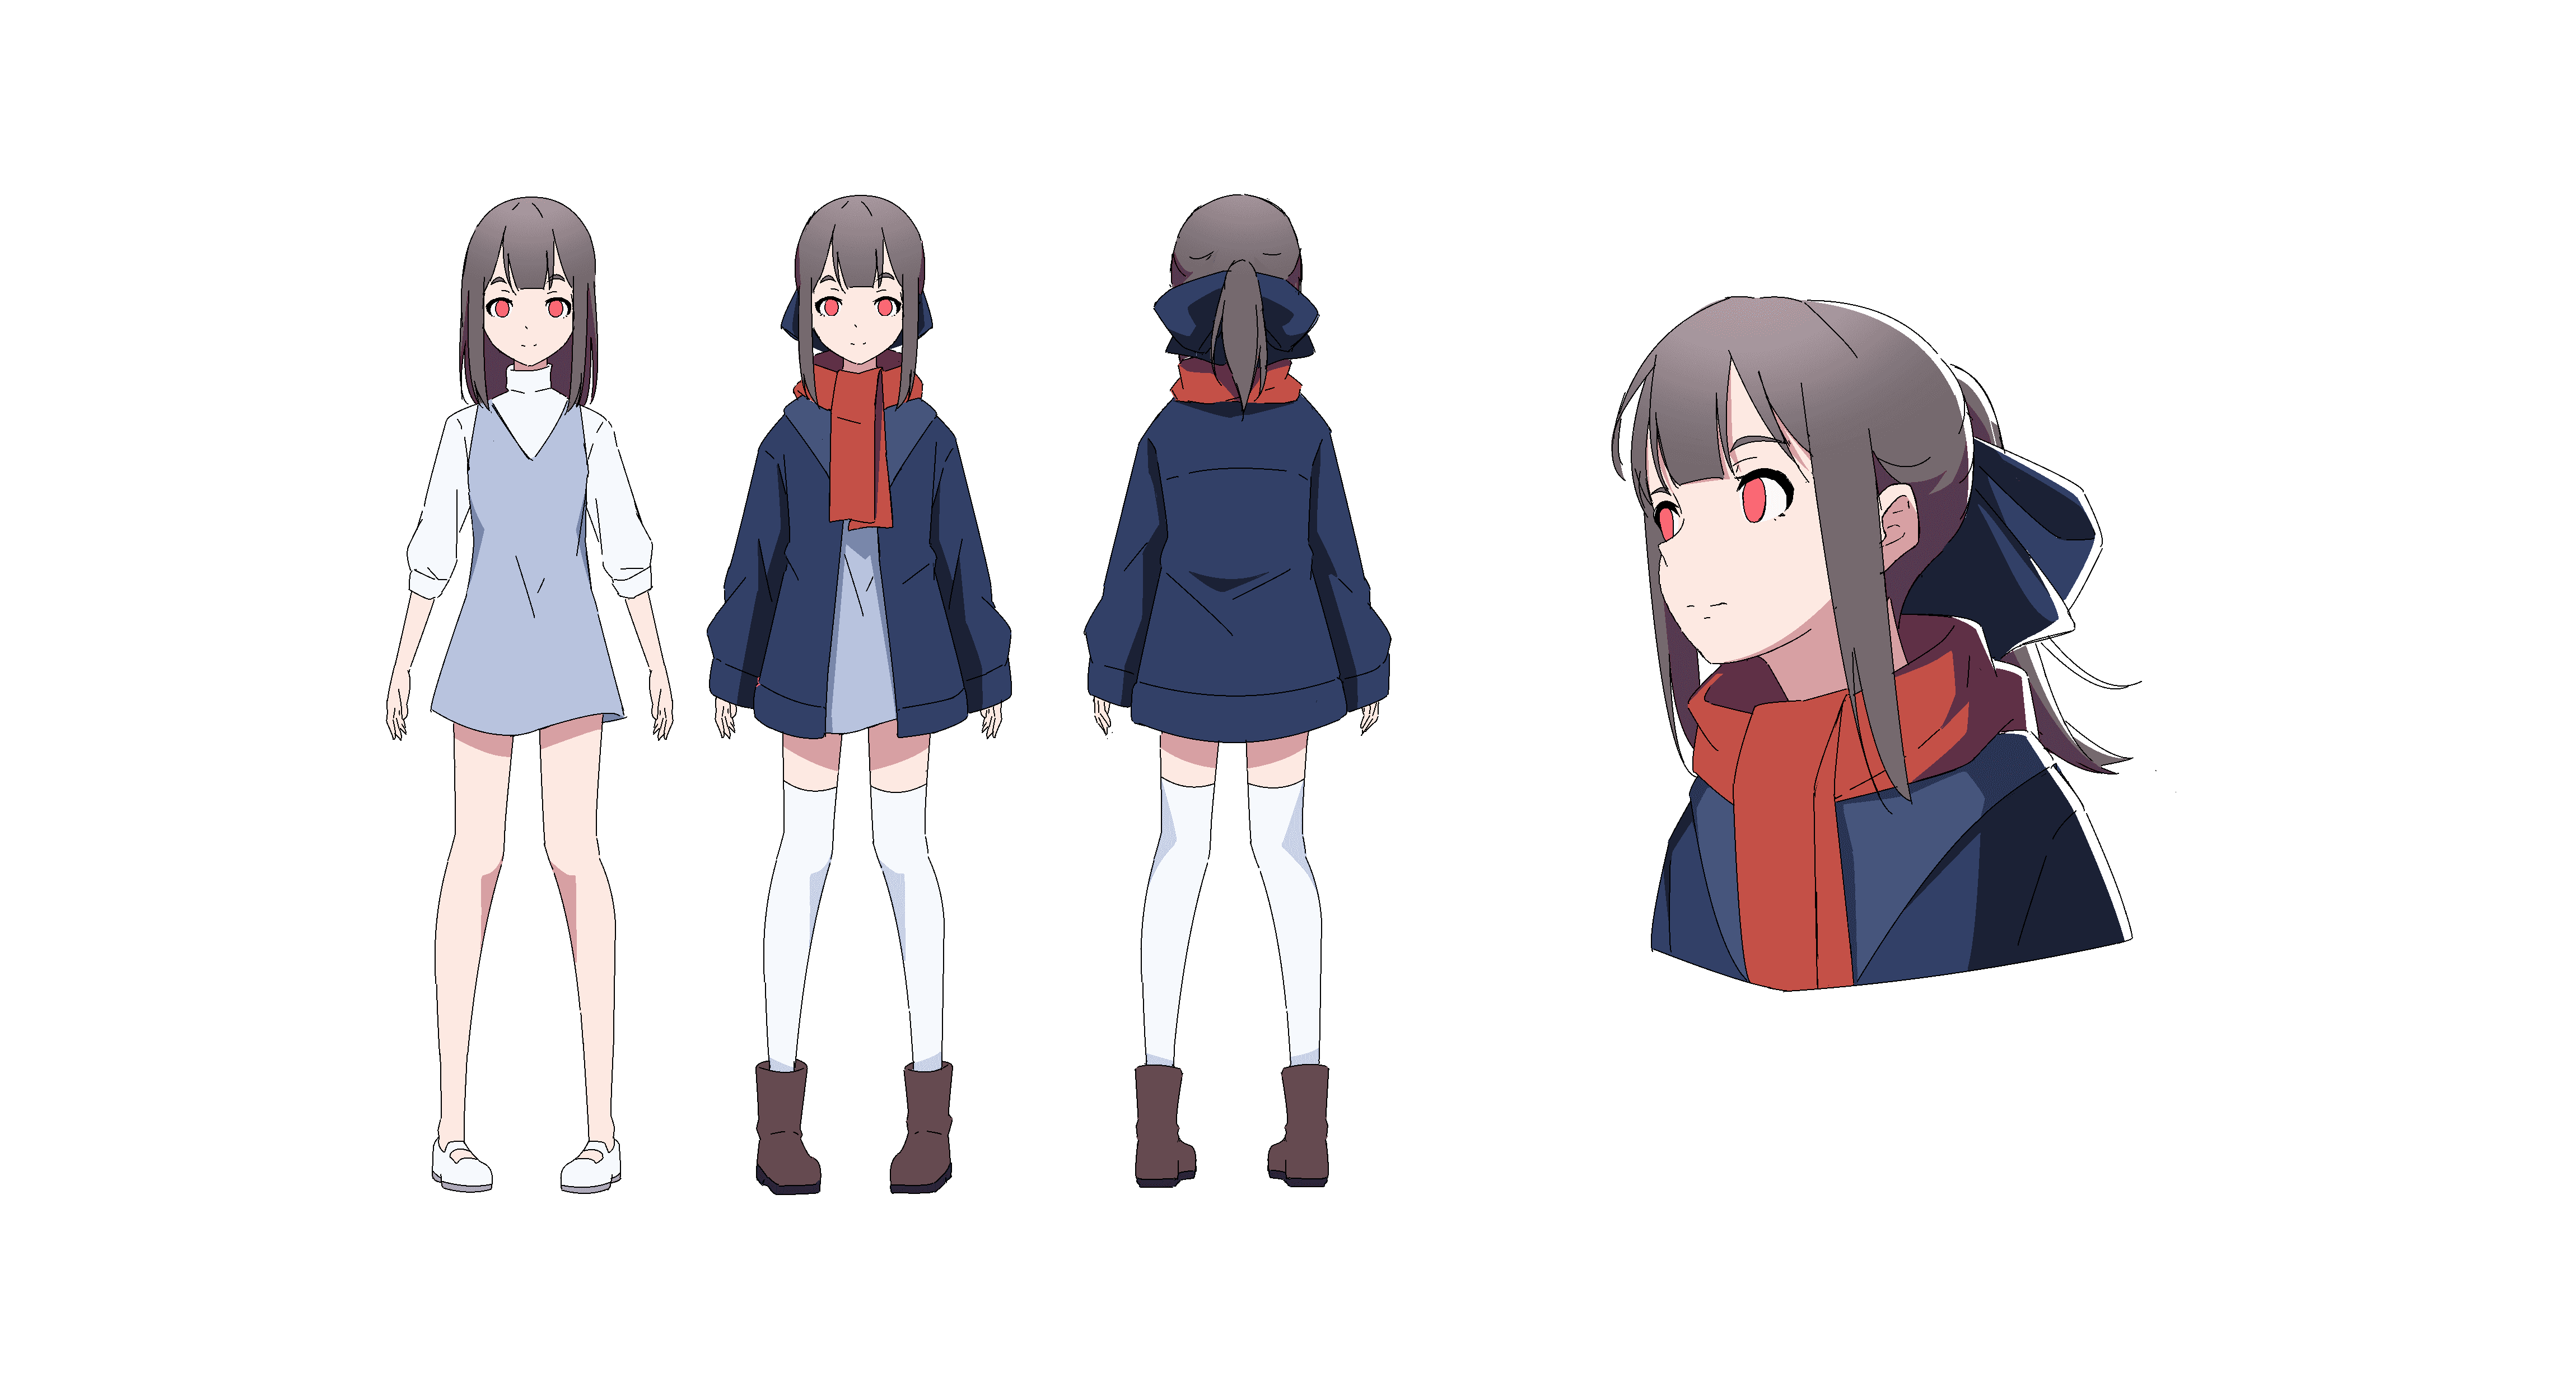
The animation process begins with creating a rough sketch in Clip Studio Paint. At this stage, I focus on capturing the key poses and flow of the movement to ensure the animation's structure aligns with the intended motion.

2. Line Art
Once the sketch is refined, I move on to the line art phase. Using clean and precise lines, I define the characters and elements, ensuring consistency and clarity across each frame to create smooth transitions.
3. Coloring
After completing the line art, I proceed to coloring. I apply the base colors, followed by shading and highlights to add depth and volume. This step enhances the visual appeal and brings the animation to life.
4. HD2D Integration
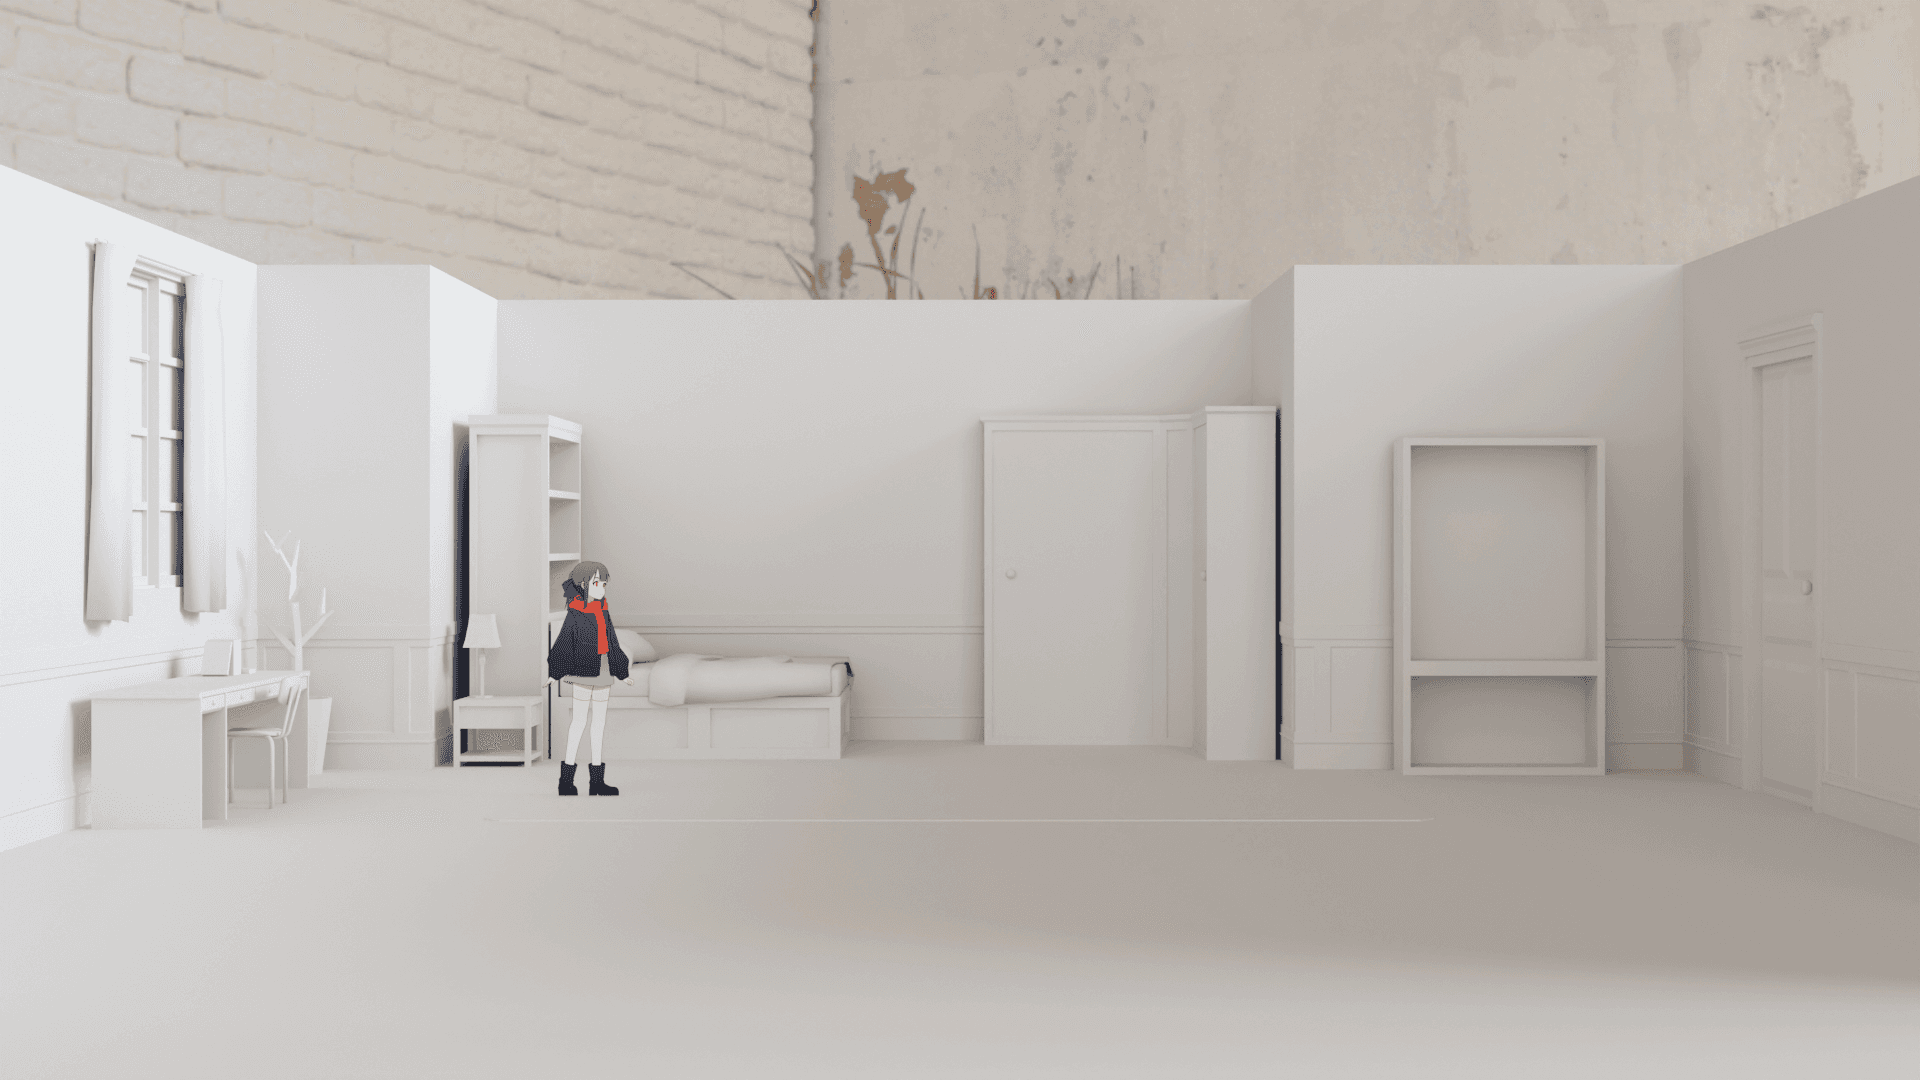
For this project, the game incorporates HD2D elements. To enhance this, I manually created custom hand-painted normal maps. These maps give the artwork an organic, smooth feel, ensuring that light and shadow interact naturally with the 2D visuals, creating a unique blend of depth and realism.
Custom Artwork Creation
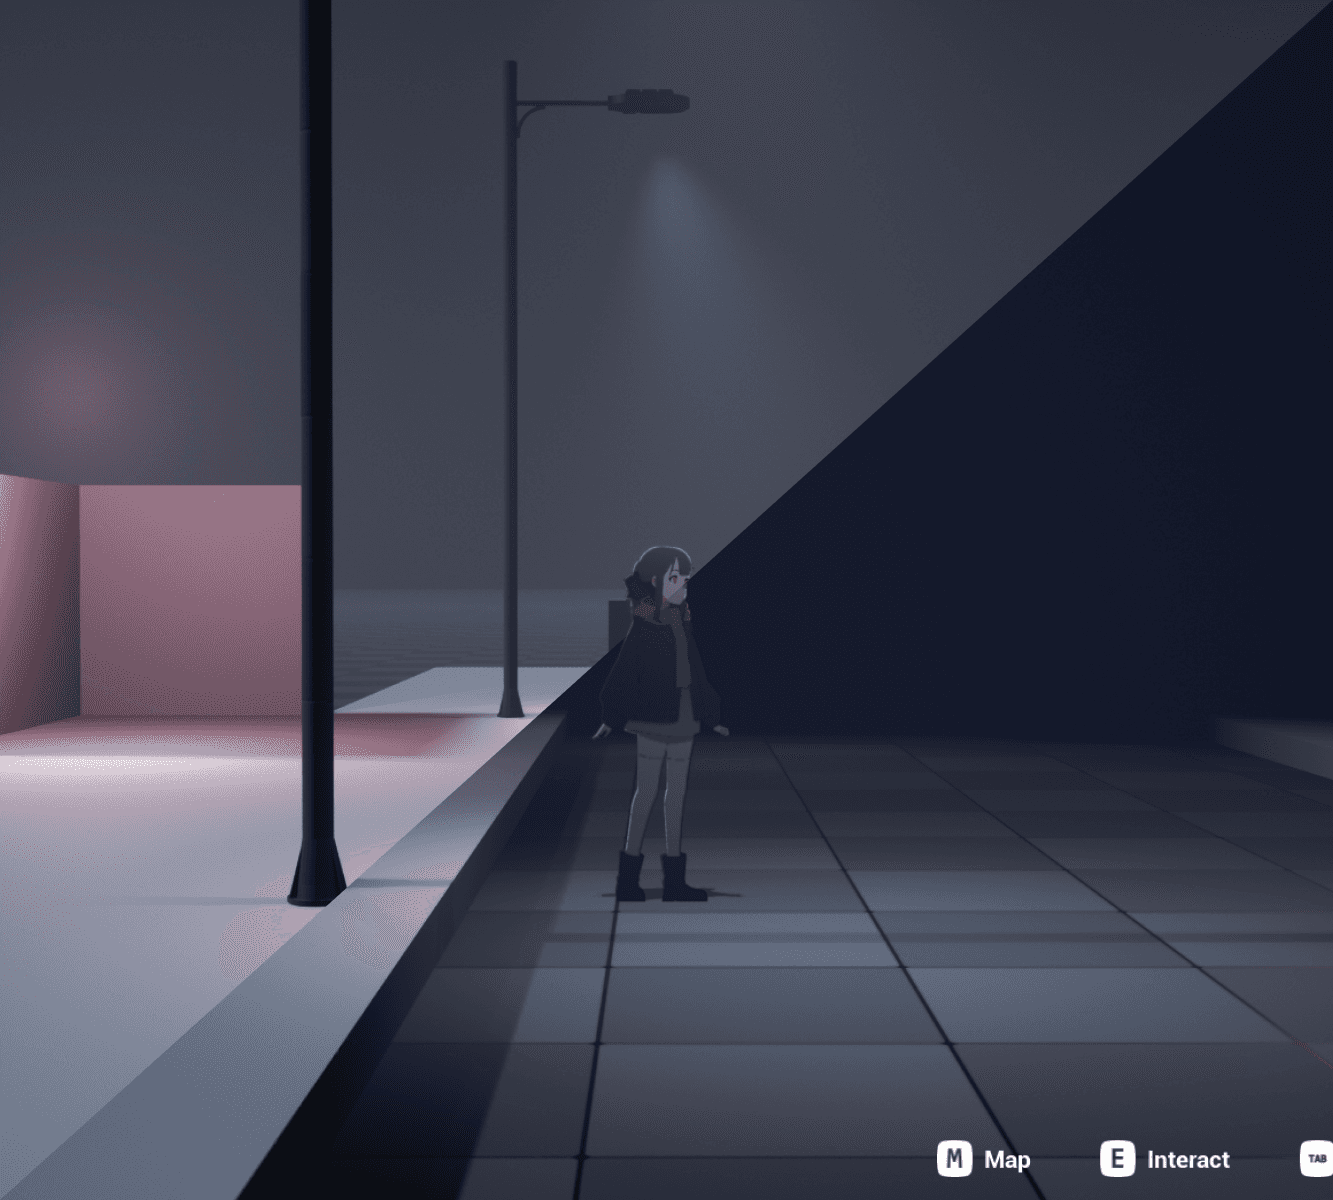
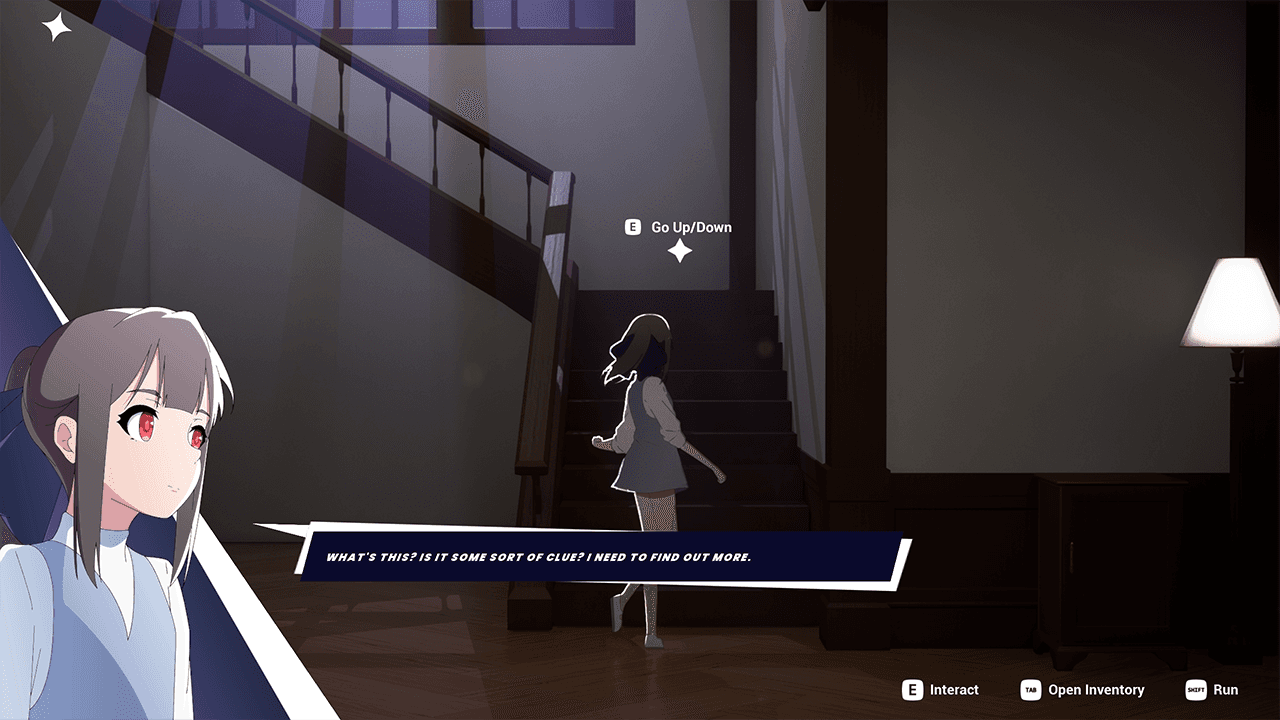
The image below was also created manually by hand, using a combination of multiple tools such as Clip Studio Paint, After Effects, Blender, and Photoshop. Each tool played a role in different aspects of the design process—Clip Studio Paint for sketching and line art, After Effects for post-processing, Blender for 3D modeling, and Photoshop for final enhancements. This workflow allowed me to seamlessly blend 2D and 3D elements for a visually cohesive result.